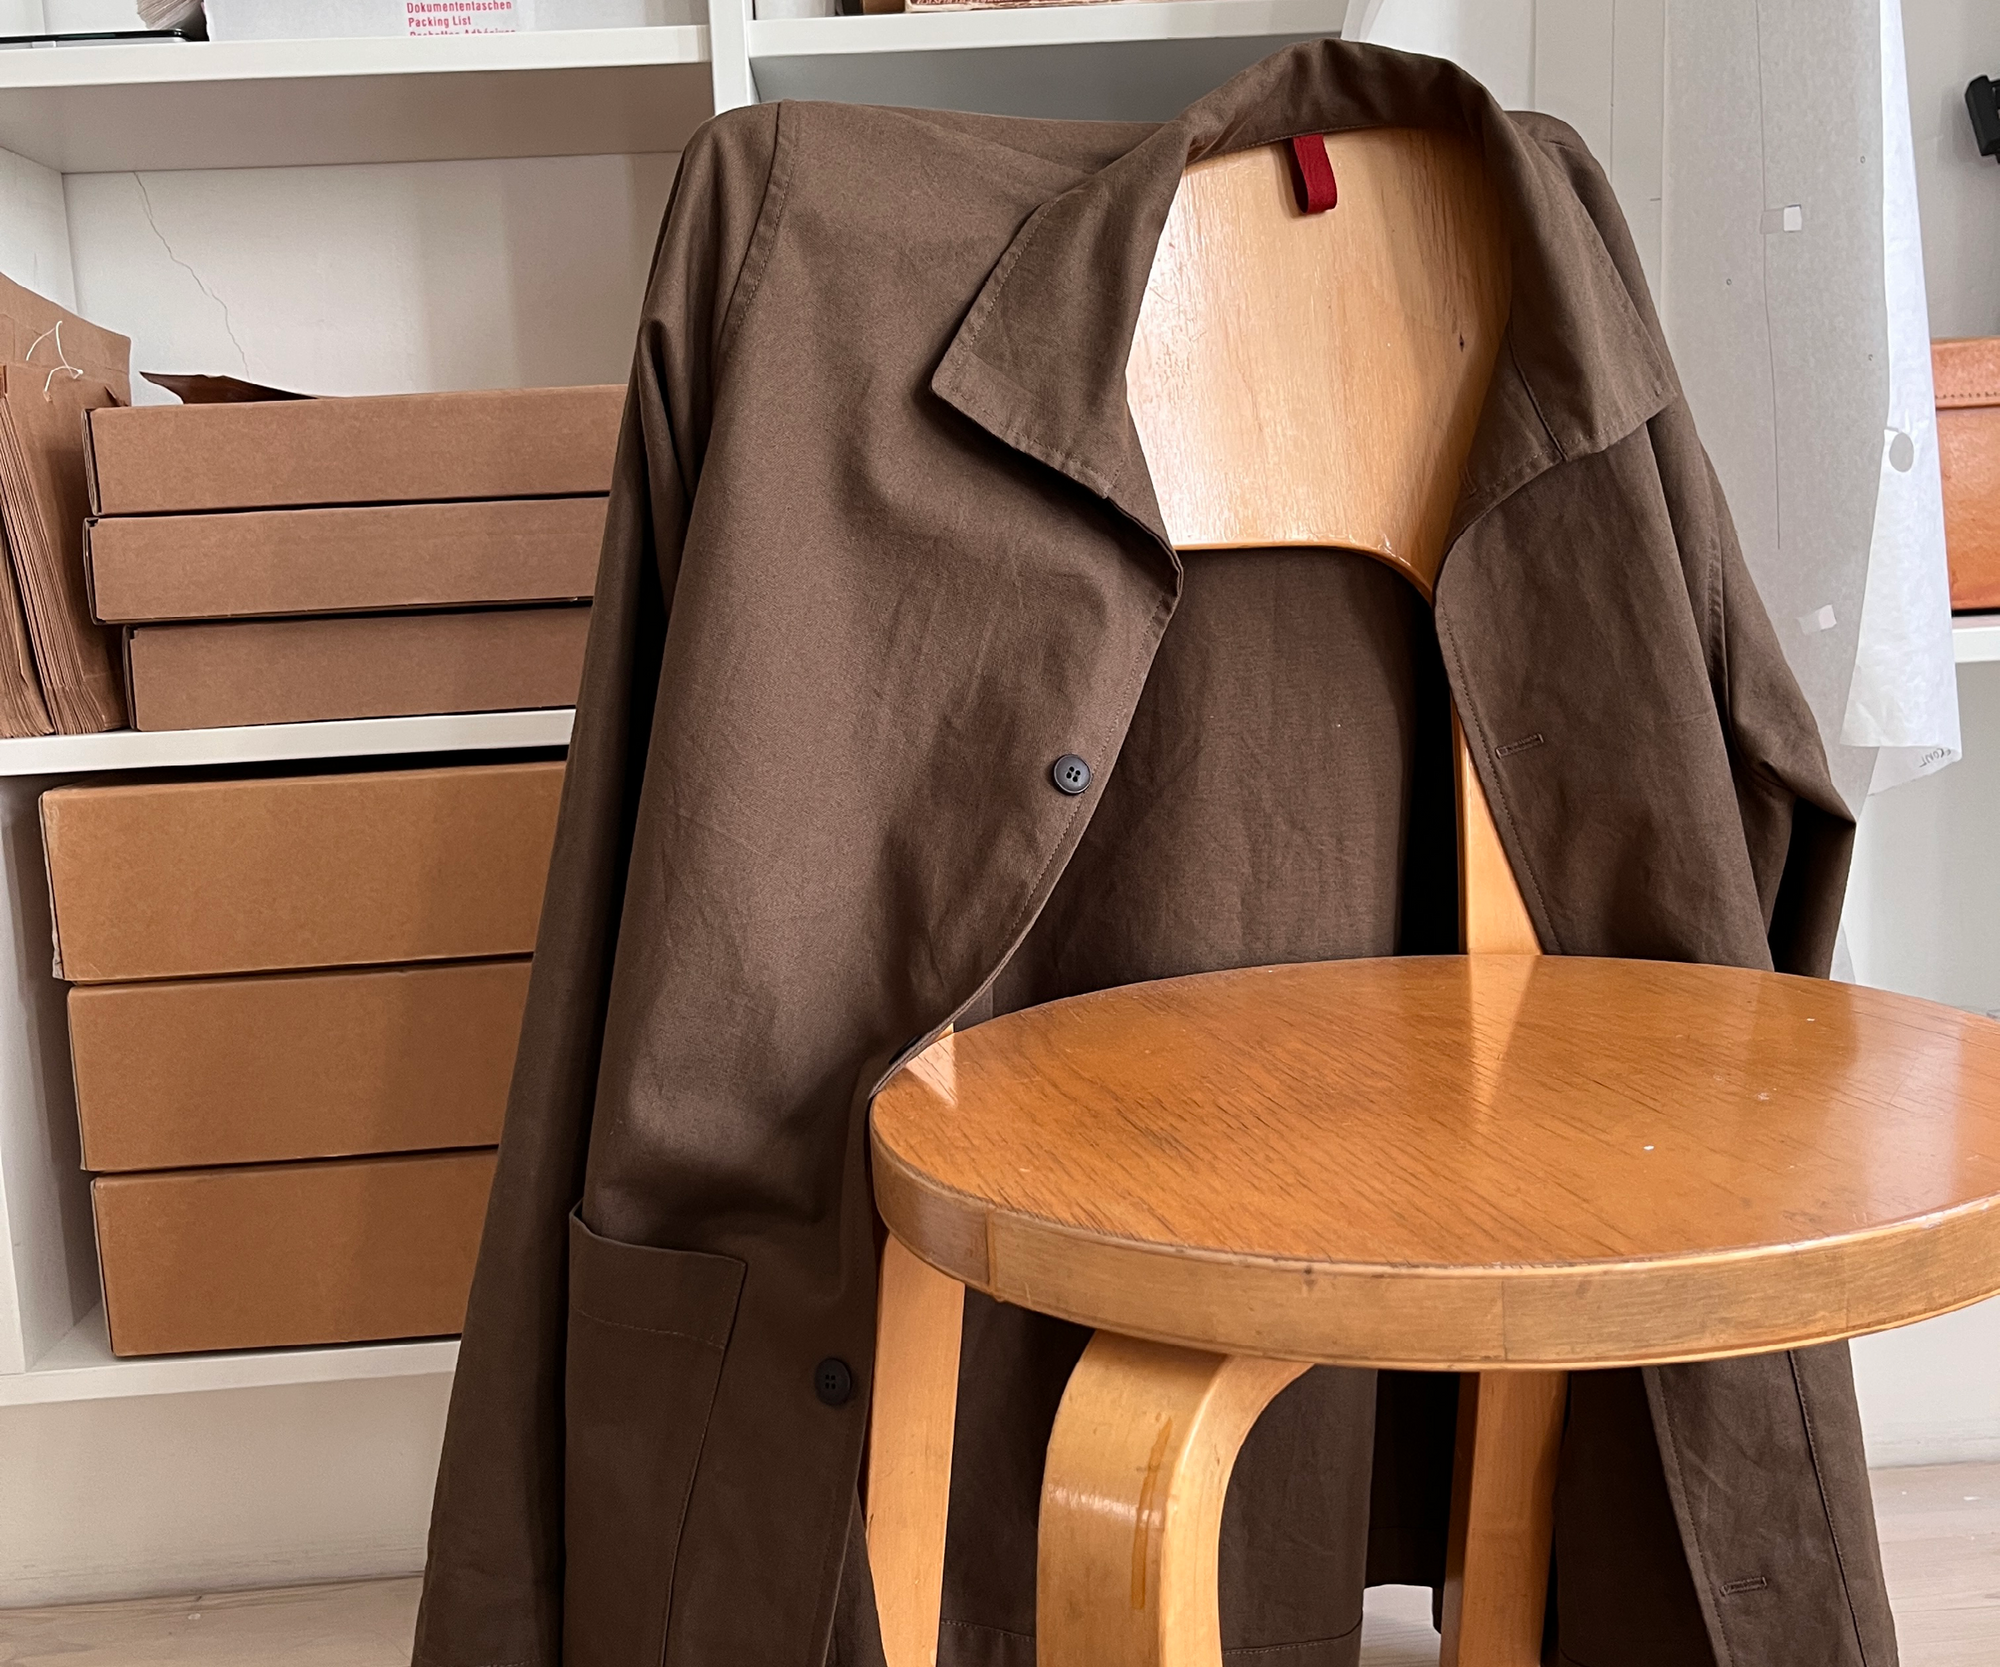
From pattern to garment: Everyday Jacket
The Everyday Jacket is a modern take on the classic work jacket or overshirt, designed for those with some sewing experience. With its boxy, spacious fit and simple-to-sew details, this jacket is an enjoyable and rewarding project. In this journal post, we’ll take a closer look at the making process, essential techniques, and finishing touches that bring the Everyday Jacket to life.
To make the Everyday Jacket, you’ll need
- A sewing machine with a buttonhole function (or press buttons as an alternative)
- Fabric (a sturdy cotton, twill, or canvas works well)
- Matching thread
- Buttons (11-18mm in size)
- Bias tape (optional for finishing edges)
Sewing the facings
The front of the jacket is finished with facings (fig. 1). A facing mirrors the front shape of the garment and creates a clean, professional finish. The edge of the facing can be finished with a double-fold, bias tape, or an overlock/zigzag stitch—depending on your preference and level of detailing.

Shoulder seam ease
A construction detail of the Everyday Jacket is the 5mm ease on the back shoulder seam. This means that the back piece is slightly longer than the front. Pin, at the beginning and end of the seam and gently stretch the front, to fit the back, while you sew. This technique adds volume to the back panel.

Adding pockets
The jacket features large, practical front pockets. To attach them:
- Position and pin the pockets in place.
- Sew around the edges, reinforcing the top corners with a small square shape for durability.

Setting in the sleeves
The sleeves of the Everyday Jacket are set-in, giving them a structured yet relaxed look. Carefully pin and ease in the sleeve cap before stitching. The pattern has small notches to help identify the right and left sleeve. The notches of the sleeve are matched with the notches of the front and back panel. The front has one notch and the back has two notches.

Sewing the collar
The Everyday Jacket features a simple-to-sew collar. It is an easy-to-construct element that provides a clean and polished look to the finished jacket.
Collar tip: Fold and press the seam allowance (1cm) on one of the layers, before sewing the two layers of the collar together. It makes it easier to attach the collar to the jacket later on.

Creating buttonholes and attaching buttons
Buttonholes can be intimidating, but with the right approach, they become manageable:
- Test a buttonhole on scrap fabric before sewing on the garment.
- Choose a button size between 11-18mm.
- The buttonhole should be 2-3mm longer than the button for ease of use.
- Make the buttonholes before attaching the buttons. This way you can adjust the placement of the buttons according to the buttonholes.
Note: Topstitch your garment BEFORE sewing button on!

Finishing touches: Topstitching
Topstitching is an essential step that adds strength and durability to your jacket while adding a beautiful detail that enhances a garment. Consider a heavier thread, a contrasting color, or stitching with a twin needle. On the Everyday Jacket we recommend to topstitch the front edge and the edge of the collar as a minimum. The armhole is optional — depending on the fabric and desired style.

Final thoughts
The Everyday Jacket is an excellent project for those looking to expand their sewing skills while creating a stylish, functional garment. With attention to details like facings, shoulder seam ease, and topstitching, you’ll achieve a high-quality garment.
Visit Instagram for how-to-videos


